Blood Pressure Basics
By Dr. Tasha · Board-Certified Internal Medicine Physician · 10 min read
You bought the monitor. You’re checking your numbers. You’re doing everything right.
Except — are you?
Most people make at least three technique mistakes every single time they check their blood pressure at home. And those mistakes can throw readings off by 10 to 20 points — enough to land you in a completely different category on the chart.
That’s the difference between “let’s keep an eye on it” and “you need medication.” For a number that carries that much weight, getting it right matters.
In this post, I’m going to walk you through exactly how to take your blood pressure at home correctly — the preparation, the positioning, the technique, and the most common mistakes to avoid. I’ll also cover what equipment you actually need and how to bring your home data to your doctor in a way that actually changes your care.
Related reading: What Is Blood Pressure? · Blood Pressure Chart: Know Your Numbers
Key Takeaways
- Only use a validated upper-arm monitor — wrist monitors are significantly less accurate
- Cuff size matters more than most people realize — the wrong size can skew readings by 10+ points
- Sit quietly for 5 minutes before every reading — this single step eliminates one of the biggest error sources
- Always take two readings, 1–2 minutes apart — the first is almost always higher
- Check morning and evening at consistent times — patterns matter more than any single number
- Write down context, not just numbers — what you were doing before the reading matters
Why your doctor’s office reading isn’t the full picture
Picture a typical doctor’s appointment. You rushed to get there, stressed about parking, anxious about what the doctor might say. You sat in the waiting room scrolling your phone. Your name gets called. A medical assistant you’ve never met wraps a cuff around your arm — sometimes the wrong size cuff — and takes one reading while you’re sitting there tense and distracted.
That single number goes in your chart. That’s what guides treatment decisions.
The problem? Blood pressure isn’t static. It shifts constantly in response to stress, movement, time of day, what you ate, how you slept, whether your bladder is full, even whether you talked during the reading. A single office measurement captures one anxious moment in a constantly fluctuating system.
Did you know?
White coat hypertension affects up to 30% of people
This is when blood pressure spikes at medical appointments due to anxiety — but runs normal at home. It’s so common it has a clinical name. The opposite also happens: masked hypertension, where readings are normal at the doctor’s office but elevated everywhere else. This one is dangerous because it’s routinely missed.
Neither condition can be identified from a single office reading. Home monitoring is how you find out which category you’re in.
The 2017 ACC/AHA guidelines strongly recommend home blood pressure monitoring for anyone with elevated readings — because research consistently shows it provides a more accurate picture of true blood pressure than office readings alone. Two weeks of twice-daily home readings gives your doctor 56 data points. A quarterly office visit gives them one.
The right equipment — what to buy and what to avoid
Not all blood pressure monitors are created equal. This is one place where cutting corners costs you real accuracy.
⚠️ Avoid These
Wrist monitors — significantly less accurate than upper-arm monitors. Wrist position relative to heart level affects readings dramatically, and most people don’t hold their wrist at the right height.
Finger monitors and phone apps — these are wellness gadgets, not medical tools. Don’t make clinical decisions based on them.
What to Buy
A validated upper-arm automatic monitor
Look for monitors validated for clinical accuracy. The American Medical Association maintains a free list at validatebp.org — check any monitor you’re considering before purchasing.
Recommended features:
- Upper-arm cuff (not wrist or finger)
- Automatic inflation
- Memory storage for multiple readings
- Irregular heartbeat detection
- Appropriate cuff size for your arm circumference
Trusted brands: Omron (multiple validated models), Welch Allyn Home, A&D Medical. Quality monitors typically cost $50–$100. This is not where to cut costs — your treatment decisions will be based on these numbers.
This Matters More Than You Think
Cuff size — measure your arm before buying
A cuff that’s too small gives falsely high readings. Too large gives falsely low. Measure your upper-arm circumference midway between shoulder and elbow:
- Small adult: 22–26 cm (8.5–10 inches)
- Standard adult: 27–34 cm (10.5–13.5 inches)
- Large adult: 35–44 cm (13.5–17.5 inches)
- Extra-large adult: 45–52 cm (17.5–20.5 inches)
Free Resource
Download the Free DASH Recipe Book
50 blood-pressure-friendly meals for real life — fast, flavorful, actually doable.
The exact technique — step by step
This is where most people go wrong — and where small changes make the biggest difference. Follow this sequence every single time.
Step 1 — 30 Minutes Before
Prepare your body
- No caffeine, exercise, or smoking for 30 minutes before measuring
- Empty your bladder — a full bladder raises readings by up to 10–15 points
- Avoid talking or moving right before — give yourself transition time
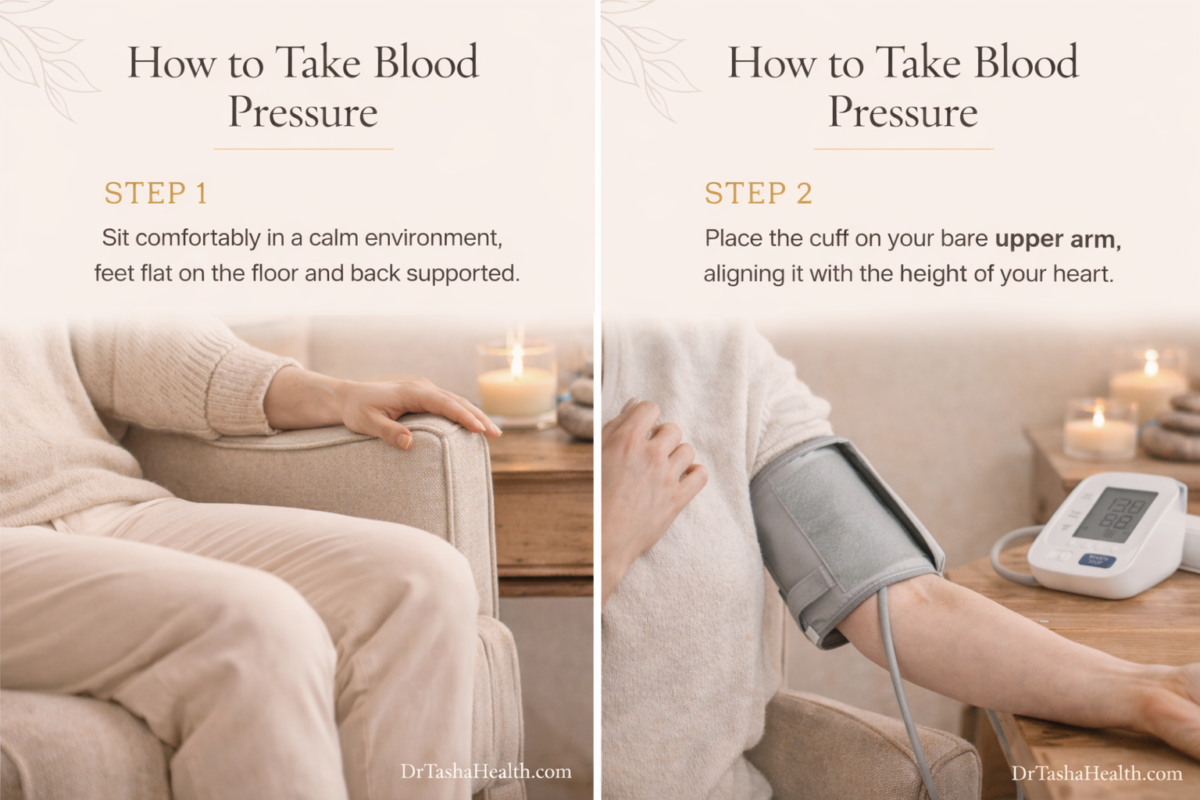
Step 2 — 5 Minutes Before
Sit correctly and rest
- Sit in a chair with back support — no slouching on the couch
- Feet flat on the floor — crossing legs raises blood pressure
- Arm supported at heart level on a table or armrest — not hanging in the air
- Sit quietly for 5 full minutes — no phone, no conversation, just rest
- This single step is the most skipped — and one of the most important
Step 3 — Placing the Cuff
Position the cuff correctly
- Cuff goes on bare skin — not over clothing or a rolled-up sleeve (adds 5–10 points)
- Bottom of cuff sits one inch above the elbow crease
- Cuff snug but not tight — you should fit two fingers underneath
- Use the same arm every time — readings can differ between arms; always use the one with higher readings (usually your non-dominant arm, but check both initially)
Step 4 — Taking the Reading
Press start — then do nothing
- Press start, then remain completely still
- Do not talk, move, or look at your phone during the measurement
- Breathe normally — no breath-holding
- Wait 1–2 minutes, then take a second reading
- Record both readings — the first is often higher due to anticipation; the second is usually more accurate
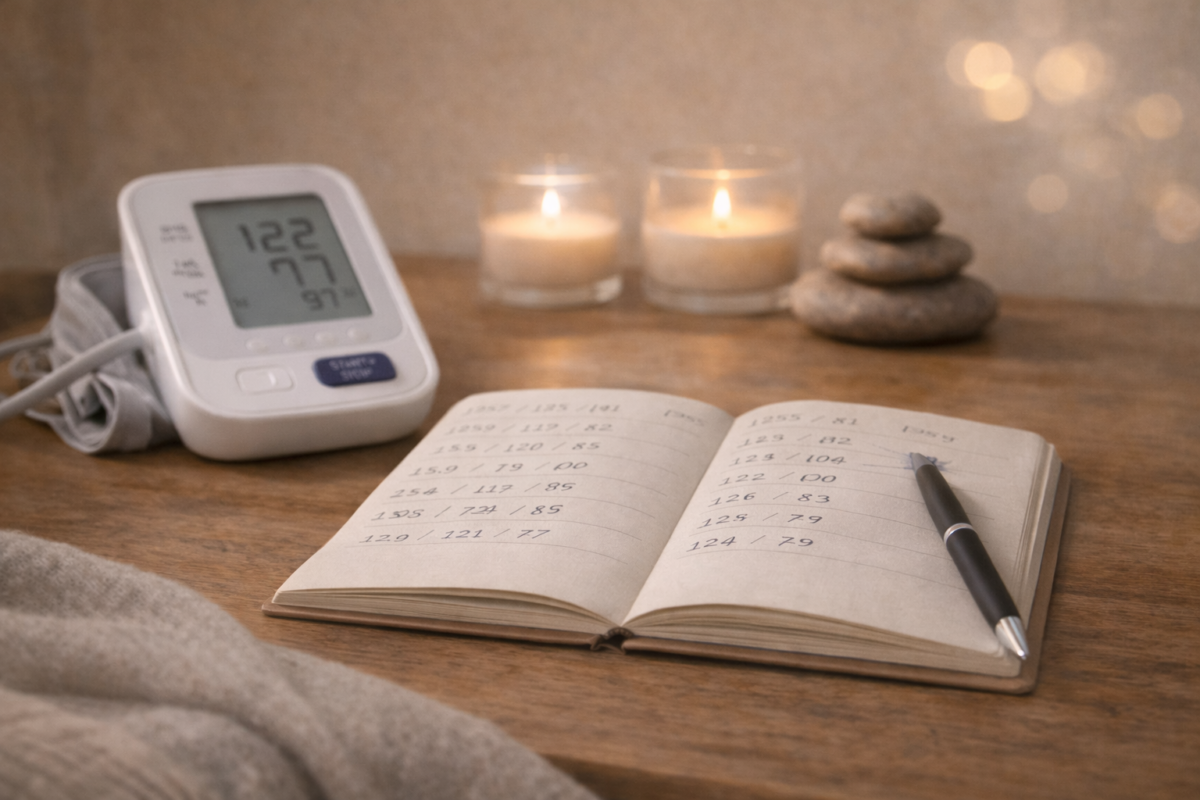
Step 5 — Record Everything
Write down the number AND the context
A reading without context is just a number. Here’s what to log each time:
- Date and time
- Both readings (reading 1 and reading 2)
- Heart rate (most monitors display this)
- Which arm
- How you’re feeling — calm, stressed, tired, rushed
- What you were doing before — working, exercising, arguing, resting
- Medications taken today and when
When to check — and how often
Consistency matters more than frequency. Two readings at the same times every day gives you far more useful data than checking randomly throughout the day.
Daily Routine
Morning — within one hour of waking:
Before medications. Before breakfast. After using the bathroom. After sitting quietly for 5 minutes. Morning readings are often naturally higher due to your cortisol surge on waking — that’s normal and important data.
Evening — before dinner or before bed (pick one, stay consistent):
After sitting quietly for 5 minutes. Evening readings show how your body responded to the day’s stress, food, and activity. Both morning and evening readings matter — together they show the full picture of your daily pattern.
Two weeks of twice-daily readings gives you 56 data points. That’s exponentially more information than your doctor gets from a single quarterly office visit — and it reveals patterns no office visit ever could.
7 common mistakes that throw your readings off
I see these in my practice constantly — from patients who have been checking their blood pressure for years and still don’t know they’re doing it wrong.
Mistake 1: Skipping the 5-minute rest. Rushing from activity straight to checking gives you an elevated reading that reflects your recent movement, not your true blood pressure. Set a timer. Sit. Wait.
Mistake 2: Checking over clothing. Even a thin long-sleeve shirt adds 5–10 points. Roll up your sleeve or remove it entirely. Always measure on bare skin.
Mistake 3: Crossing your legs. This raises blood pressure. Feet flat on the floor, every time.
Mistake 4: Arm not at heart level. Arm below heart level gives falsely high readings. Arm above gives falsely low. Support your arm on a table or armrest at heart height.
Mistake 5: Talking or moving during the reading. Even a brief conversation adds 10+ points. Press start, then go completely still and silent until it’s done.
Mistake 6: Rechecking immediately after a high reading. You got 148/90, panicked, and immediately rechecked — and got 155/94. Of course you did. The anxiety about the first reading elevated the second. Take your two readings, record them, walk away.
Mistake 7: Checking too often. Checking multiple times per hour creates an anxiety loop that raises your blood pressure, which makes you check more. Twice daily at consistent times. That’s it.
How to bring your home data to your doctor
After two weeks of consistent tracking, you’ll have more data about your blood pressure than your doctor has ever had access to. Here’s how to use it.
What to bring and how to present it
Calculate your averages before the appointment — overall average, morning average, evening average. Your doctor will use these to make treatment decisions.
Identify your patterns. “I noticed my BP is consistently higher on work mornings.” “My readings after poor sleep average 12 points higher.” These observations are clinically valuable.
Bring your log — printed or on your phone. Organized, readable, with context notes included.
Ask specific questions: “Should we adjust my medication timing based on these patterns?” “Do my home readings suggest white coat hypertension?” “My average at home is X — how does that compare to my office readings?”
Doctors appreciate this. It transforms your appointment from “here’s one reading” to “here’s comprehensive data about how my body actually behaves.” It makes their job easier and your treatment more precise.
Start Today
Your first week checklist
- Order a validated upper-arm monitor from validatebp.org if you don’t have one
- Measure your arm circumference and confirm your cuff size is correct
- Choose your morning and evening check times — same times, every day
- Practice the full technique once today — preparation, positioning, two readings, log
- After two weeks, calculate your averages and bring them to your next appointment — read why your blood pressure won’t budge after 40 to understand what your numbers mean
Frequently Asked Questions
Which arm should I use to take my blood pressure?
Check both arms initially — it’s normal for readings to differ by a few points. Always use the arm with the higher readings going forward, and use the same arm every time. For most people this is the non-dominant arm, but not always. Consistency matters more than which arm you choose.
My home readings are much lower than my doctor’s office readings. What does that mean?
This is a classic sign of white coat hypertension — blood pressure that spikes in clinical settings due to anxiety. It’s very common. Bring your home log to your doctor and have a conversation about which numbers should guide treatment decisions. Your doctor may want to use ambulatory blood pressure monitoring (a device you wear for 24 hours) to confirm.
How many times a day should I check my blood pressure?
Twice daily — once in the morning before medications and breakfast, once in the evening before dinner or bed. Take two readings each time, one to two minutes apart. More frequent checking typically creates anxiety rather than useful data, and that anxiety itself raises your readings.
Should I take my blood pressure medication before or after checking?
Take your morning reading before your medication. This shows your doctor what your blood pressure looks like at its lowest medication coverage point — the trough level — which is clinically important for assessing how well your medication is working. Your doctor may give you different instructions based on your specific situation, so confirm with them.
My two readings are very different from each other. Is that normal?
A difference of 5–10 points between your first and second reading is normal — the first reading is typically higher due to anticipation. A difference greater than 10–15 points consistently is worth mentioning to your doctor. Make sure you’re waiting a full minute between readings and remaining completely still during both.
Are wrist blood pressure monitors accurate enough?
Generally, no — not for clinical decision-making. Wrist monitors are highly sensitive to position; even slight variations in how you hold your wrist relative to your heart change the reading significantly. Upper-arm monitors are the clinical standard. If you only have a wrist monitor, always hold your wrist at heart level and check validatebp.org to see if your specific model has been validated.
Good data changes everything
Most people with high blood pressure are making treatment decisions based on incomplete, inaccurate data. One anxious office reading every few months — taken in less-than-ideal conditions — is not enough to manage a condition that changes every hour of every day.
Two weeks of home monitoring, done correctly, gives you and your doctor the full picture. Your true baseline. Your triggers. Your patterns. The data that actually guides smart, personalized treatment.
Next up: the 7 most common causes of high blood pressure after 40 — because once you’re measuring correctly, the next step is understanding what’s actually driving your numbers. That post is coming next.
Your next calm step
Download the Free DASH Recipe Book
50 meals that support healthy blood pressure — ready in 30 minutes or less.
Board-Certified Internal Medicine Physician · 23+ years clinical experience
Sources & References
Whelton PK, et al. 2017 ACC/AHA High Blood Pressure Clinical Practice Guideline. Journal of the American College of Cardiology. 2018;71(19):e127–e248.
American Medical Association. Validated Blood Pressure Devices. validatebp.org. Accessed 2025.
Pickering TG, et al. Recommendations for Blood Pressure Measurement in Humans and Experimental Animals. Hypertension. 2005;45(1):142–161.
Medical Disclaimer
The information provided in this article is for educational and informational purposes only and is not intended as medical advice, diagnosis, or treatment.
This content should not be used as a substitute for professional medical advice, diagnosis, or treatment. Always seek the advice of your physician or other qualified health provider with any questions you may have regarding a medical condition, including high blood pressure (hypertension).
Never disregard professional medical advice or delay seeking it because of something you have read on this blog. If you think you may have a medical emergency, call your doctor or 911 immediately.
The author is a board-certified physician, but this blog does not create a doctor-patient relationship. Individual results may vary. Always consult your healthcare provider before making any changes to your diet, exercise routine, or medication regimen.